Proper Surface Preparation Before Painting your Home
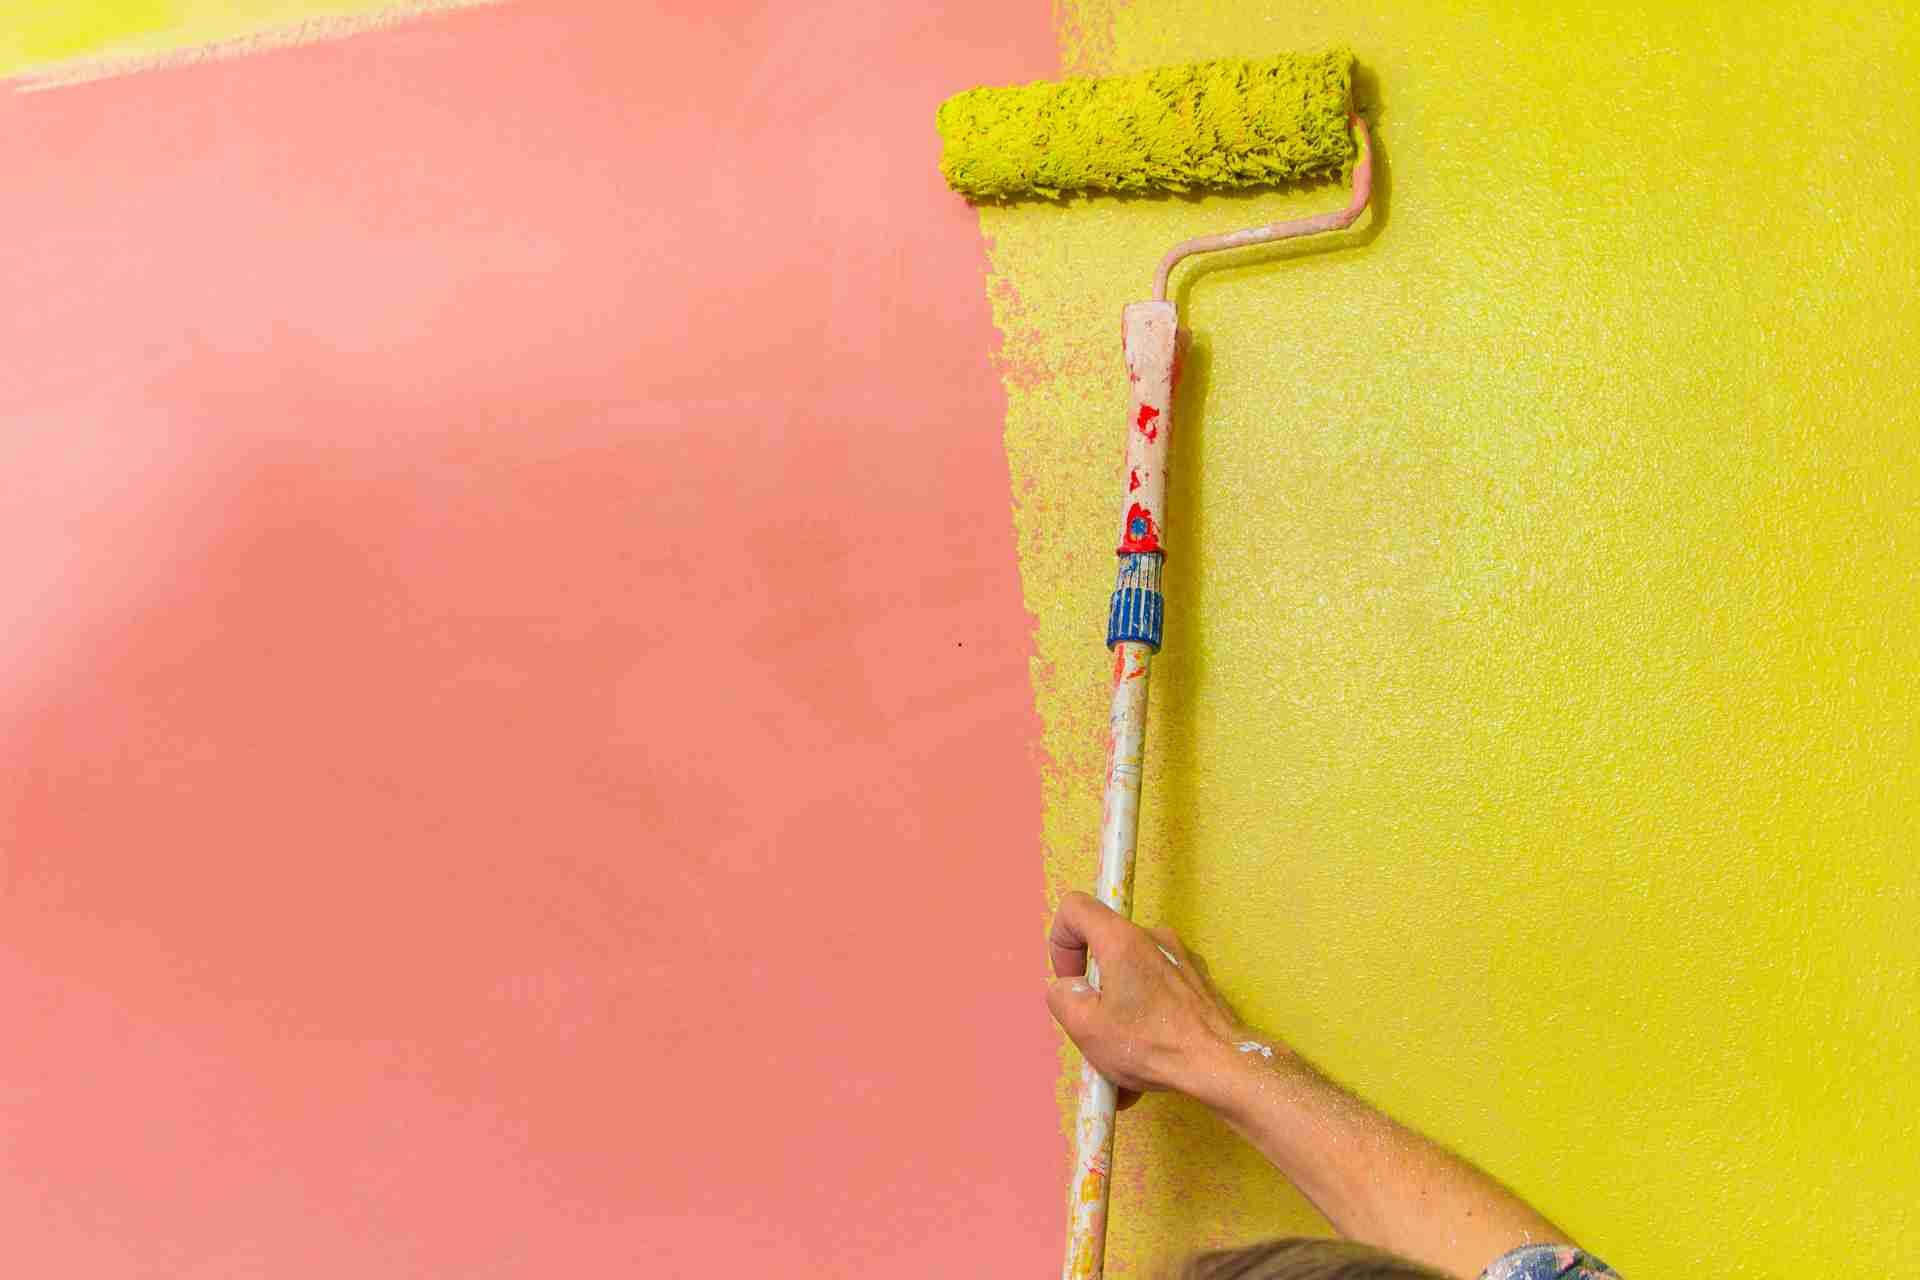
If you're looking to freshen up your living space and add a touch of personality to your home, painting is a great way to do just that.
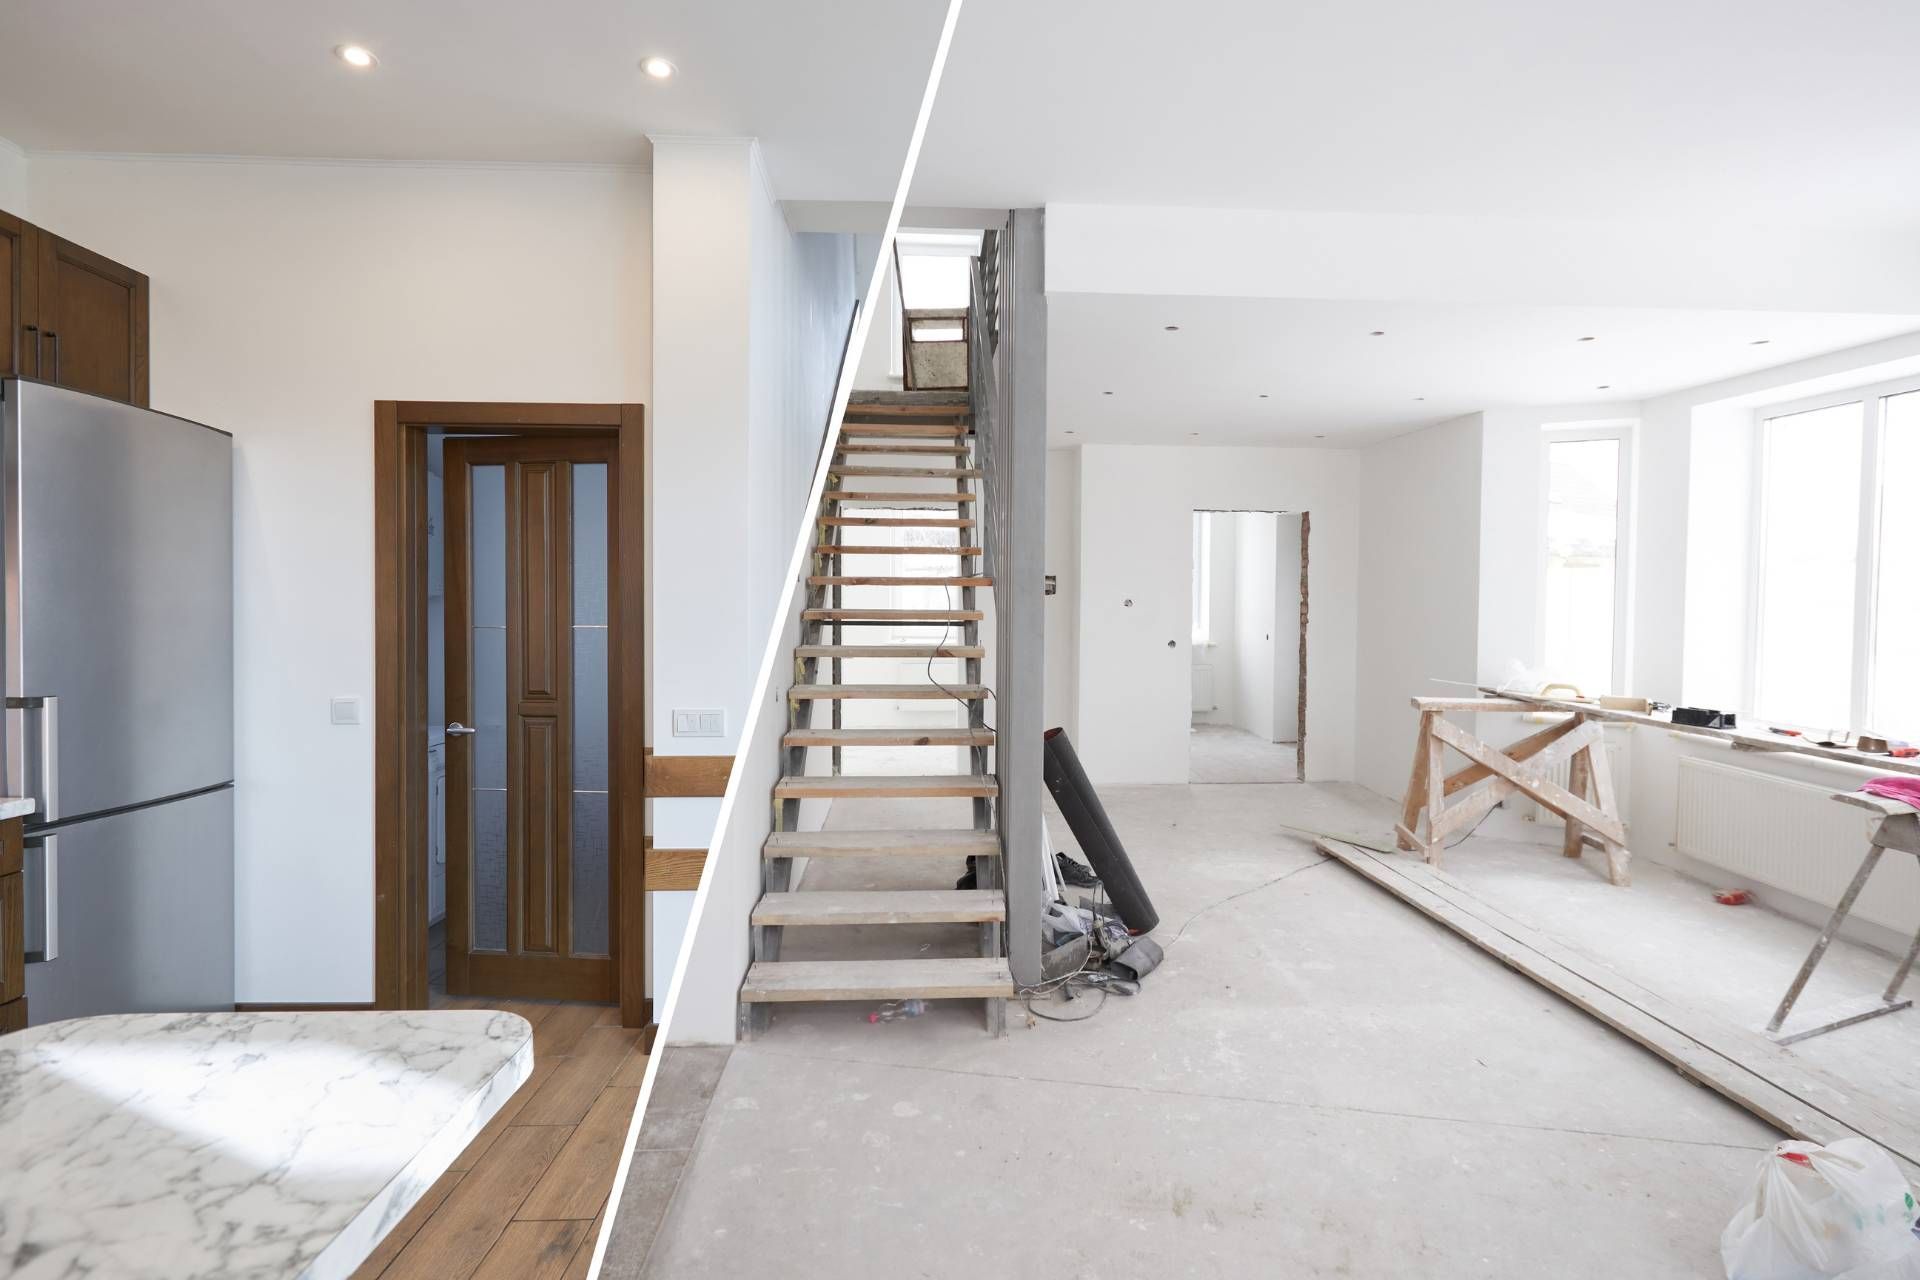
Painting your home can be a fun and rewarding DIY project, but in order to achieve professional-looking results, proper surface preparation is key. Without proper preparation, even the highest quality paint will not adhere properly and may peel or chip over time. So before you start painting, make sure to take the time to perform a surface preparation before painting to ensure a flawless finish.
Factors to consider before surface preparation
Surface Material
The material of the surface you are working with will greatly impact the surface preparation process. Different materials require different preparation methods, so it is important to research the best practices for the specific material you are working with.
Surface Condition
Before beginning any surface preparation, it is important to assess the condition of the surface. Check for any damage, imperfections, or existing coatings that may need to be removed before applying a new finish. Addressing these issues before moving forward will ensure a smooth finish.
Environmental Factors
Consider the environmental conditions of the area where you will be working. Factors such as temperature, humidity, and ventilation can all impact the surface preparation process. Make sure you are working in a well-ventilated area with optimal temperature and humidity levels for the best results.
Tools and Equipment
Having the right tools and equipment for the surface preparation process is essential. Make sure you have the necessary sanders, scrapers, brushes, and other tools to properly prepare the surface for finishing. Additionally, make sure your tools are in good working condition to avoid any hiccups during the process.
Safety Precautions
Surface preparation often involves working with chemicals, dust, and other potentially hazardous materials. It is important to take safety precautions to protect yourself and others during the process. Wear appropriate protective gear such as gloves, goggles, and masks, and make sure you are working in a well-ventilated area.
Time and Budget
Consider the time and budget you have available for the surface preparation process. Some preparation methods may be more time-consuming and costly than others, so it is important to plan accordingly. Make sure to allocate enough time and resources to properly prepare the surface for finishing.
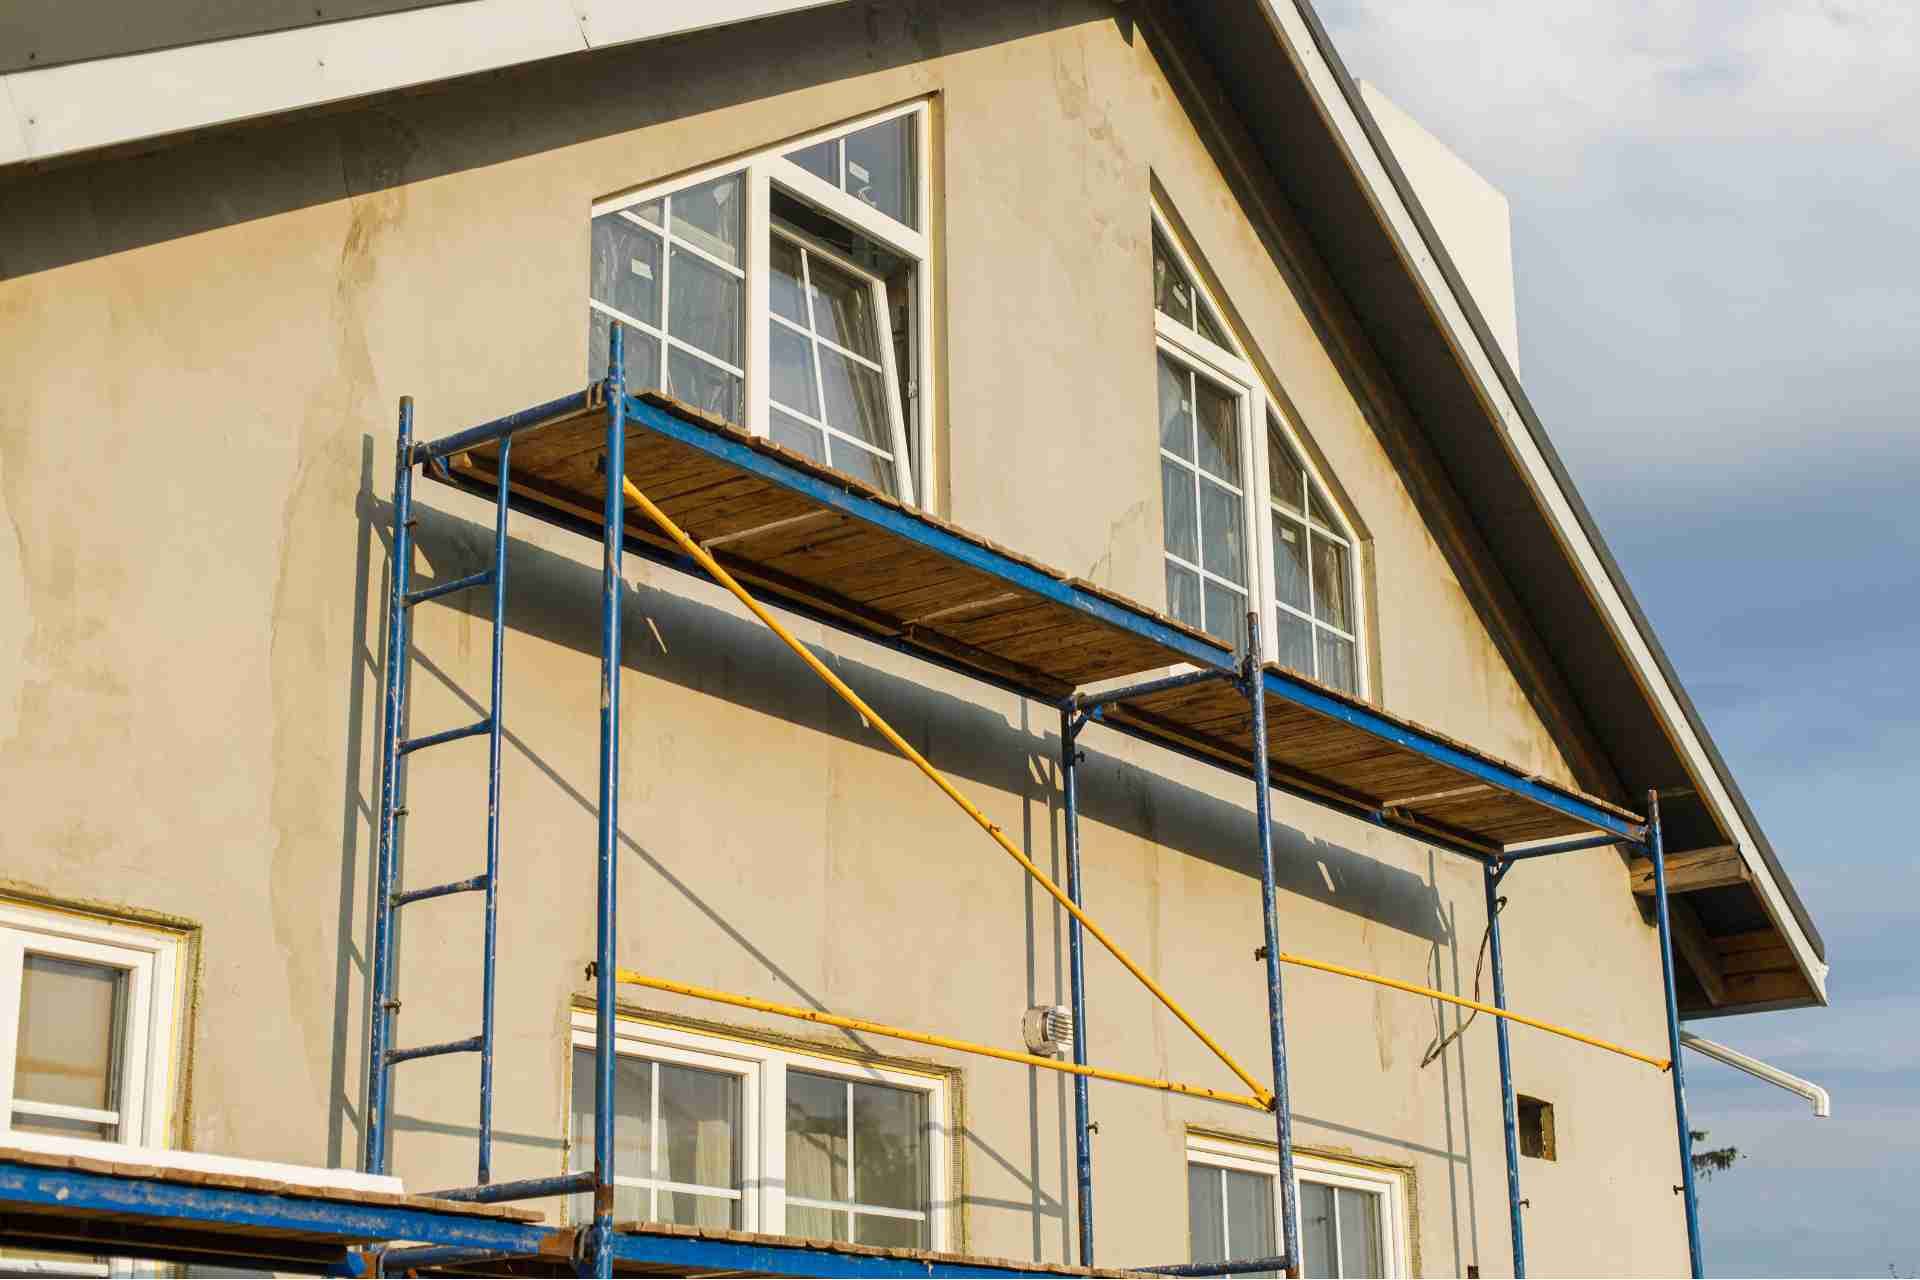
Proper Surface Preparation Before Painting
Clean the surface
The first step in surface preparation is to ensure that the surface is clean and free of any dirt, grime, or grease. Use a mild detergent and water solution to wash the surface, and scrub any stubborn stains or mildew with a scrub brush. Make sure to rinse the surface thoroughly and allow it to dry completely before moving on to the next step.
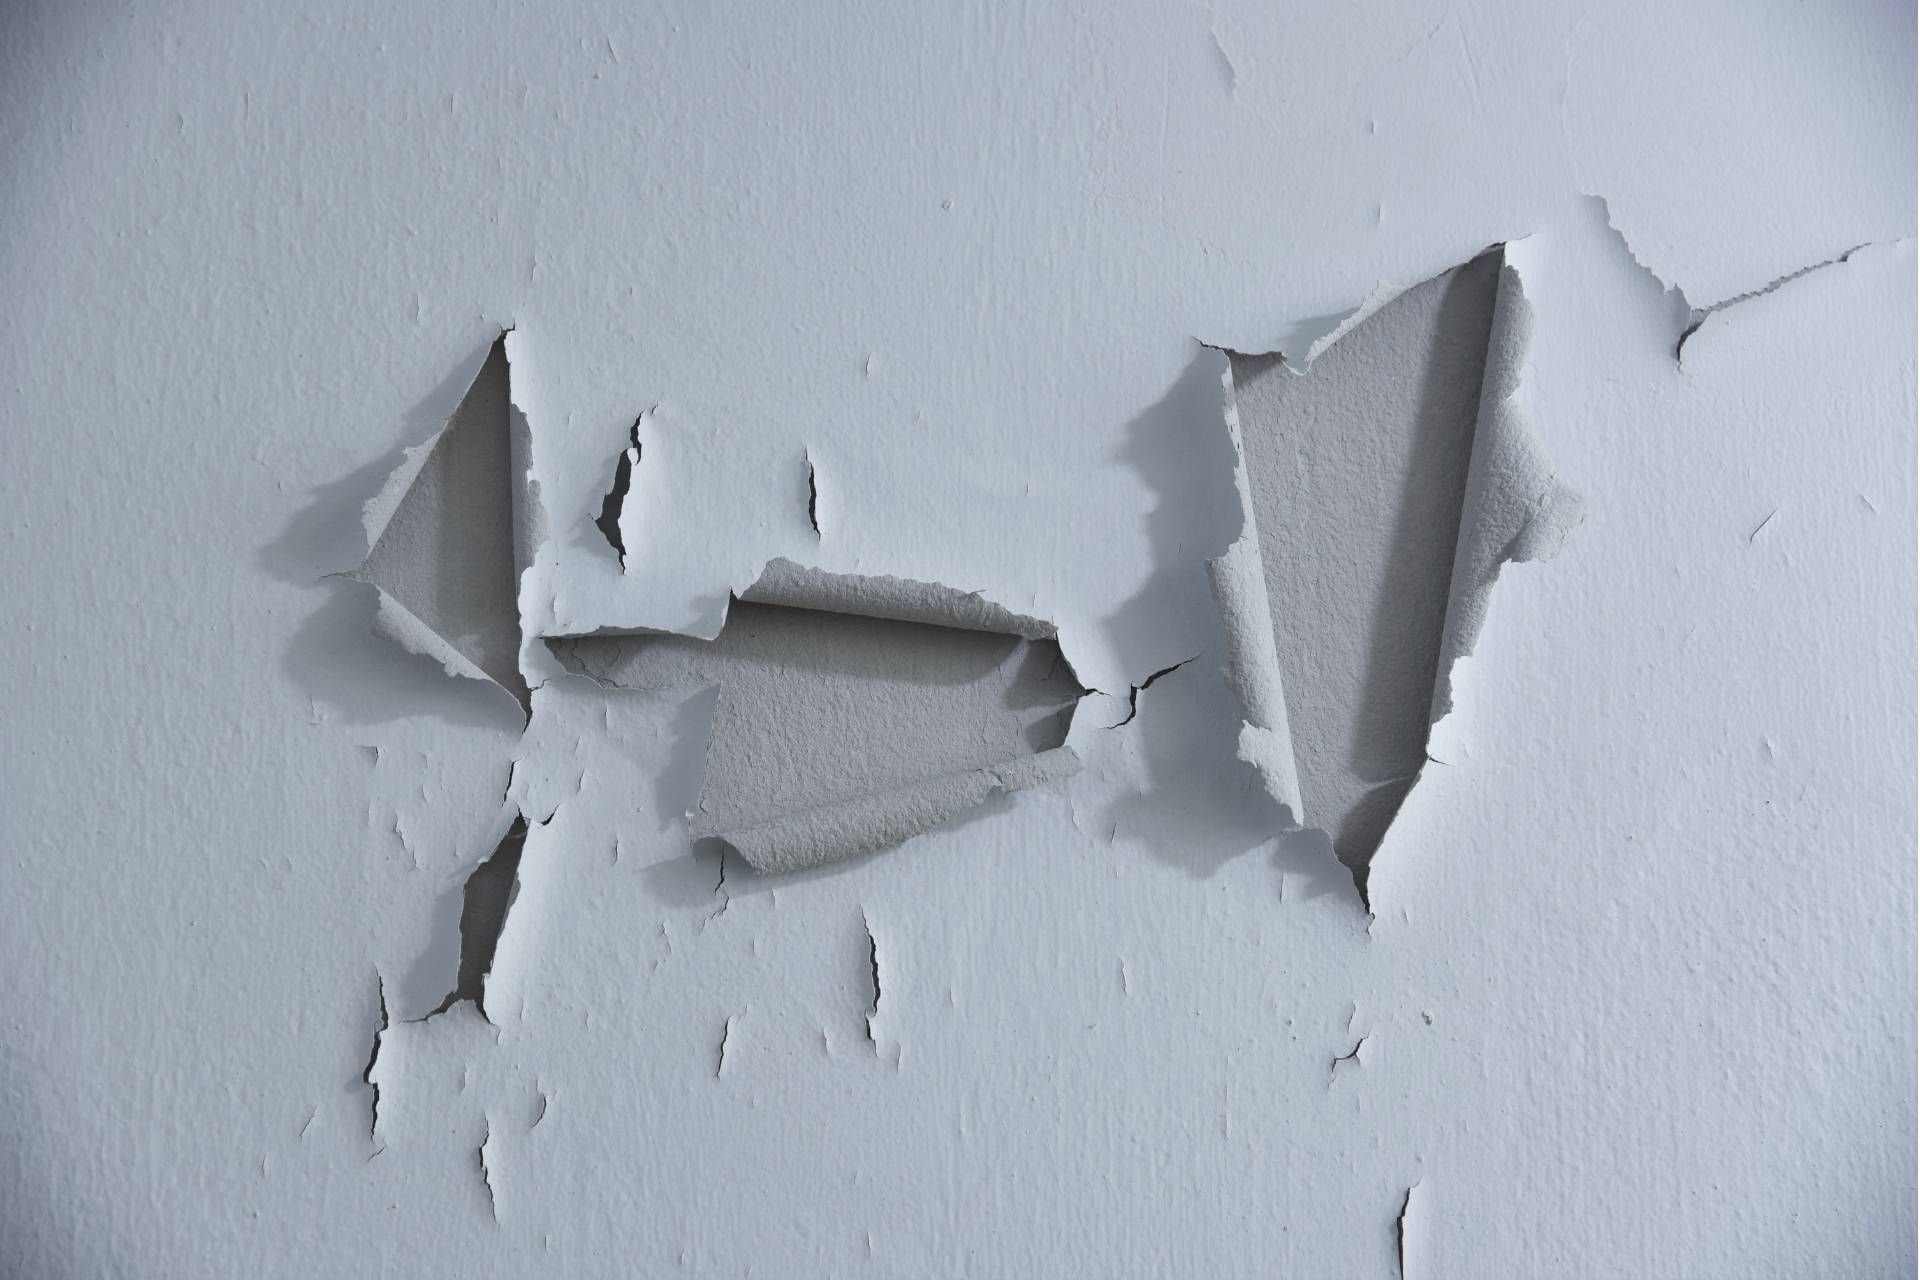
Repair any damage
Before painting, it's essential to address any damage to the surface, such as cracks, holes, or peeling paint. Use a putty knife to fill in any cracks or holes with spackling compound, and sand down any rough patches to create a smooth surface. If there are areas with peeling paint, be sure to scrape off the old paint and sand down the edges to create a seamless transition between the old and new paint.
Sand the surface
Once the surface is clean and any damage has been repaired, it's essential to sand the surface to create a smooth and even finish for the paint to adhere to. Use a sanding block or sandpaper to gently sand the surface, paying particular attention to any rough or uneven areas. Be sure to wipe down the surface with a tack cloth to remove any dust before moving on to the next step.
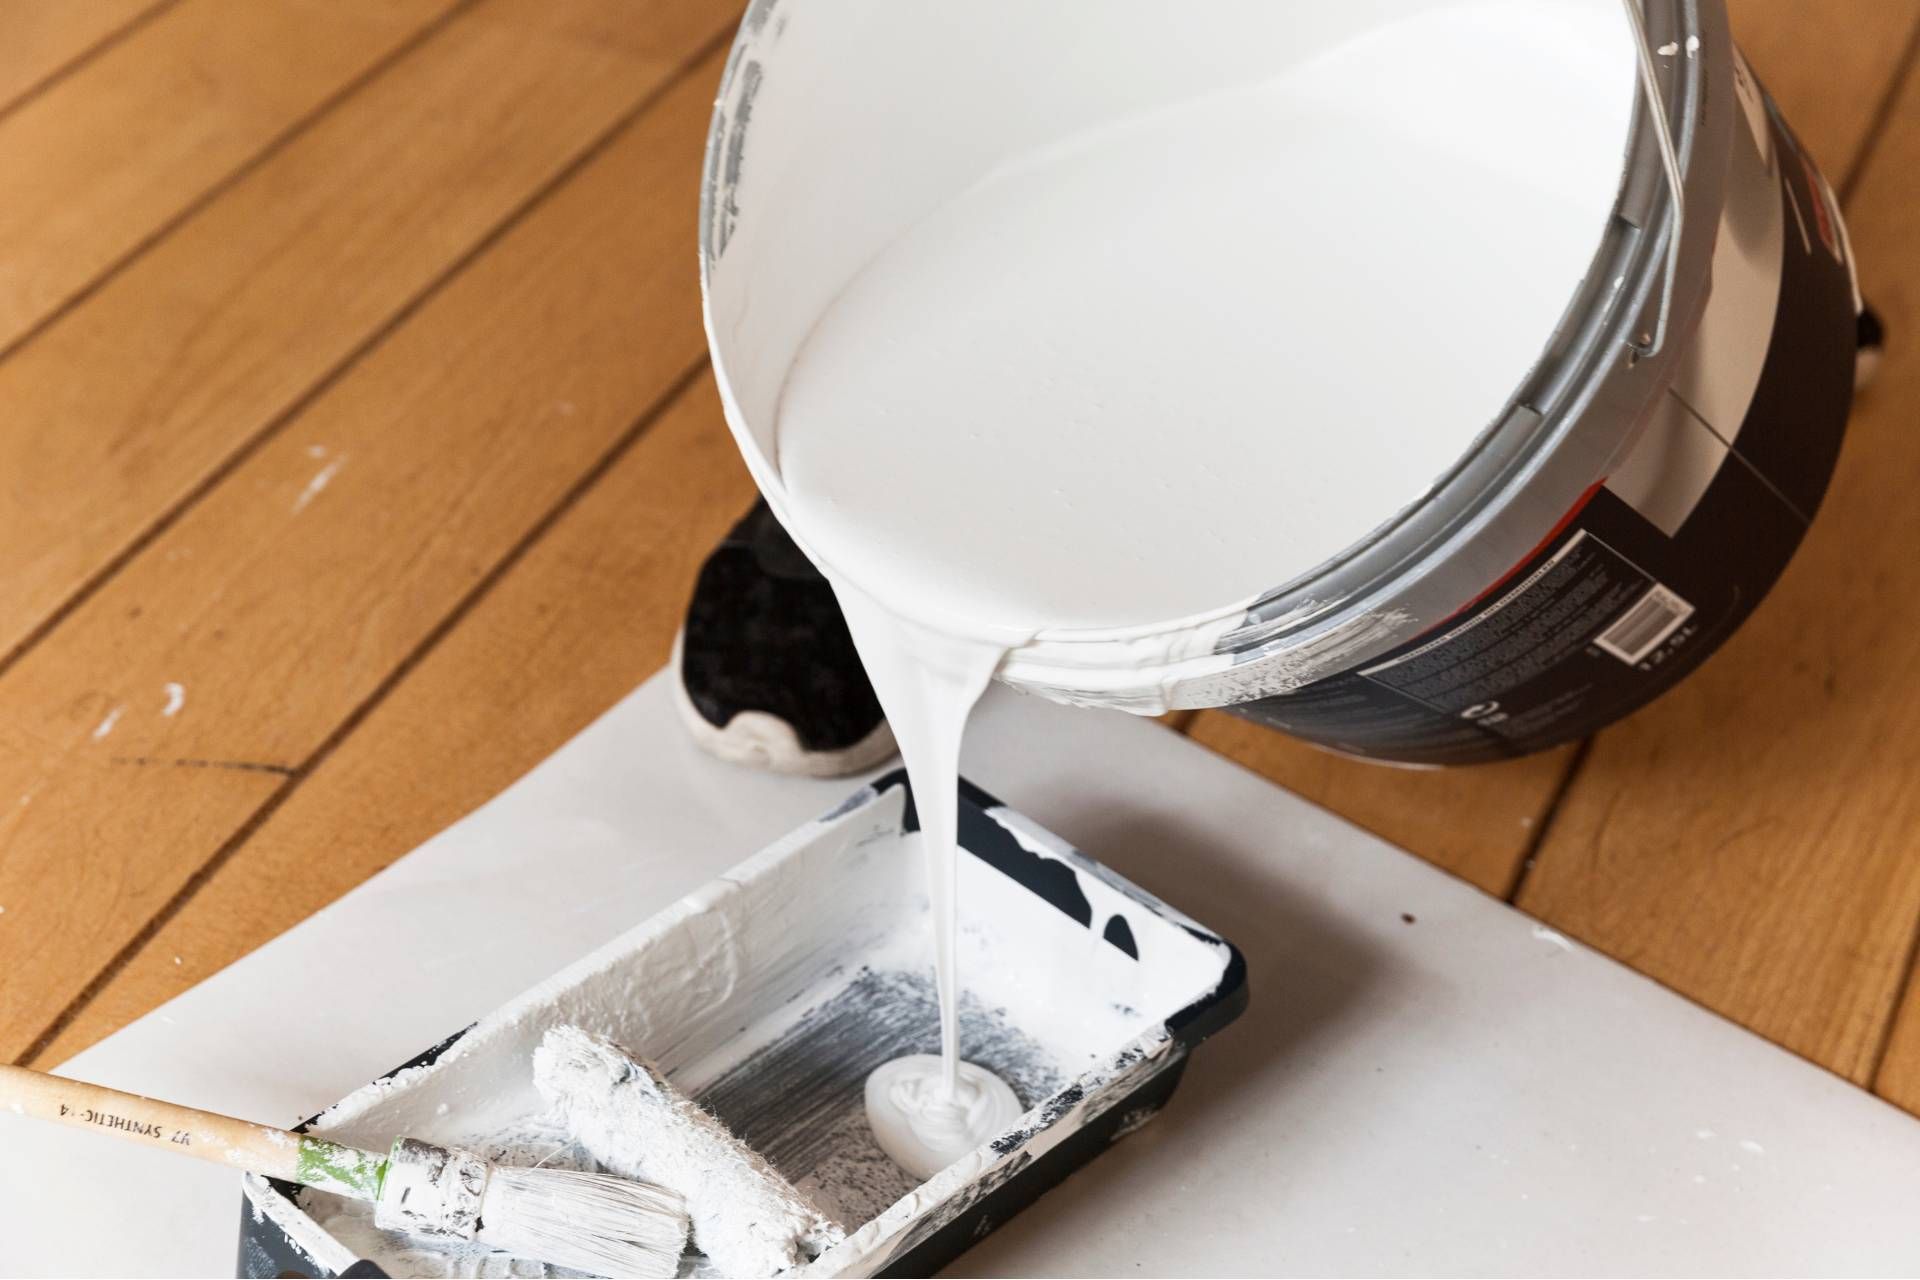
Prime the surface
Before applying the final coat of paint, it's essential to apply a primer to the surface. Paint primer helps to seal the surface and create a strong bond between the paint and the surface, ensuring a long-lasting finish. Choose a primer that is appropriate for the surface you are painting, whether it be drywall, wood, or metal.
Tape off edges
Before you start painting, use painter's tape to mask off any areas that you don't want to be painted, such as trim, windows, or doors. This will help you achieve clean, crisp lines and avoid getting paint where it doesn't belong.
Allow the surface to dry thoroughly
After completing all the necessary steps for surface preparation, allow the surface to dry completely before starting to paint. This will ensure that the paint adheres properly and that you achieve a smooth, even finish.
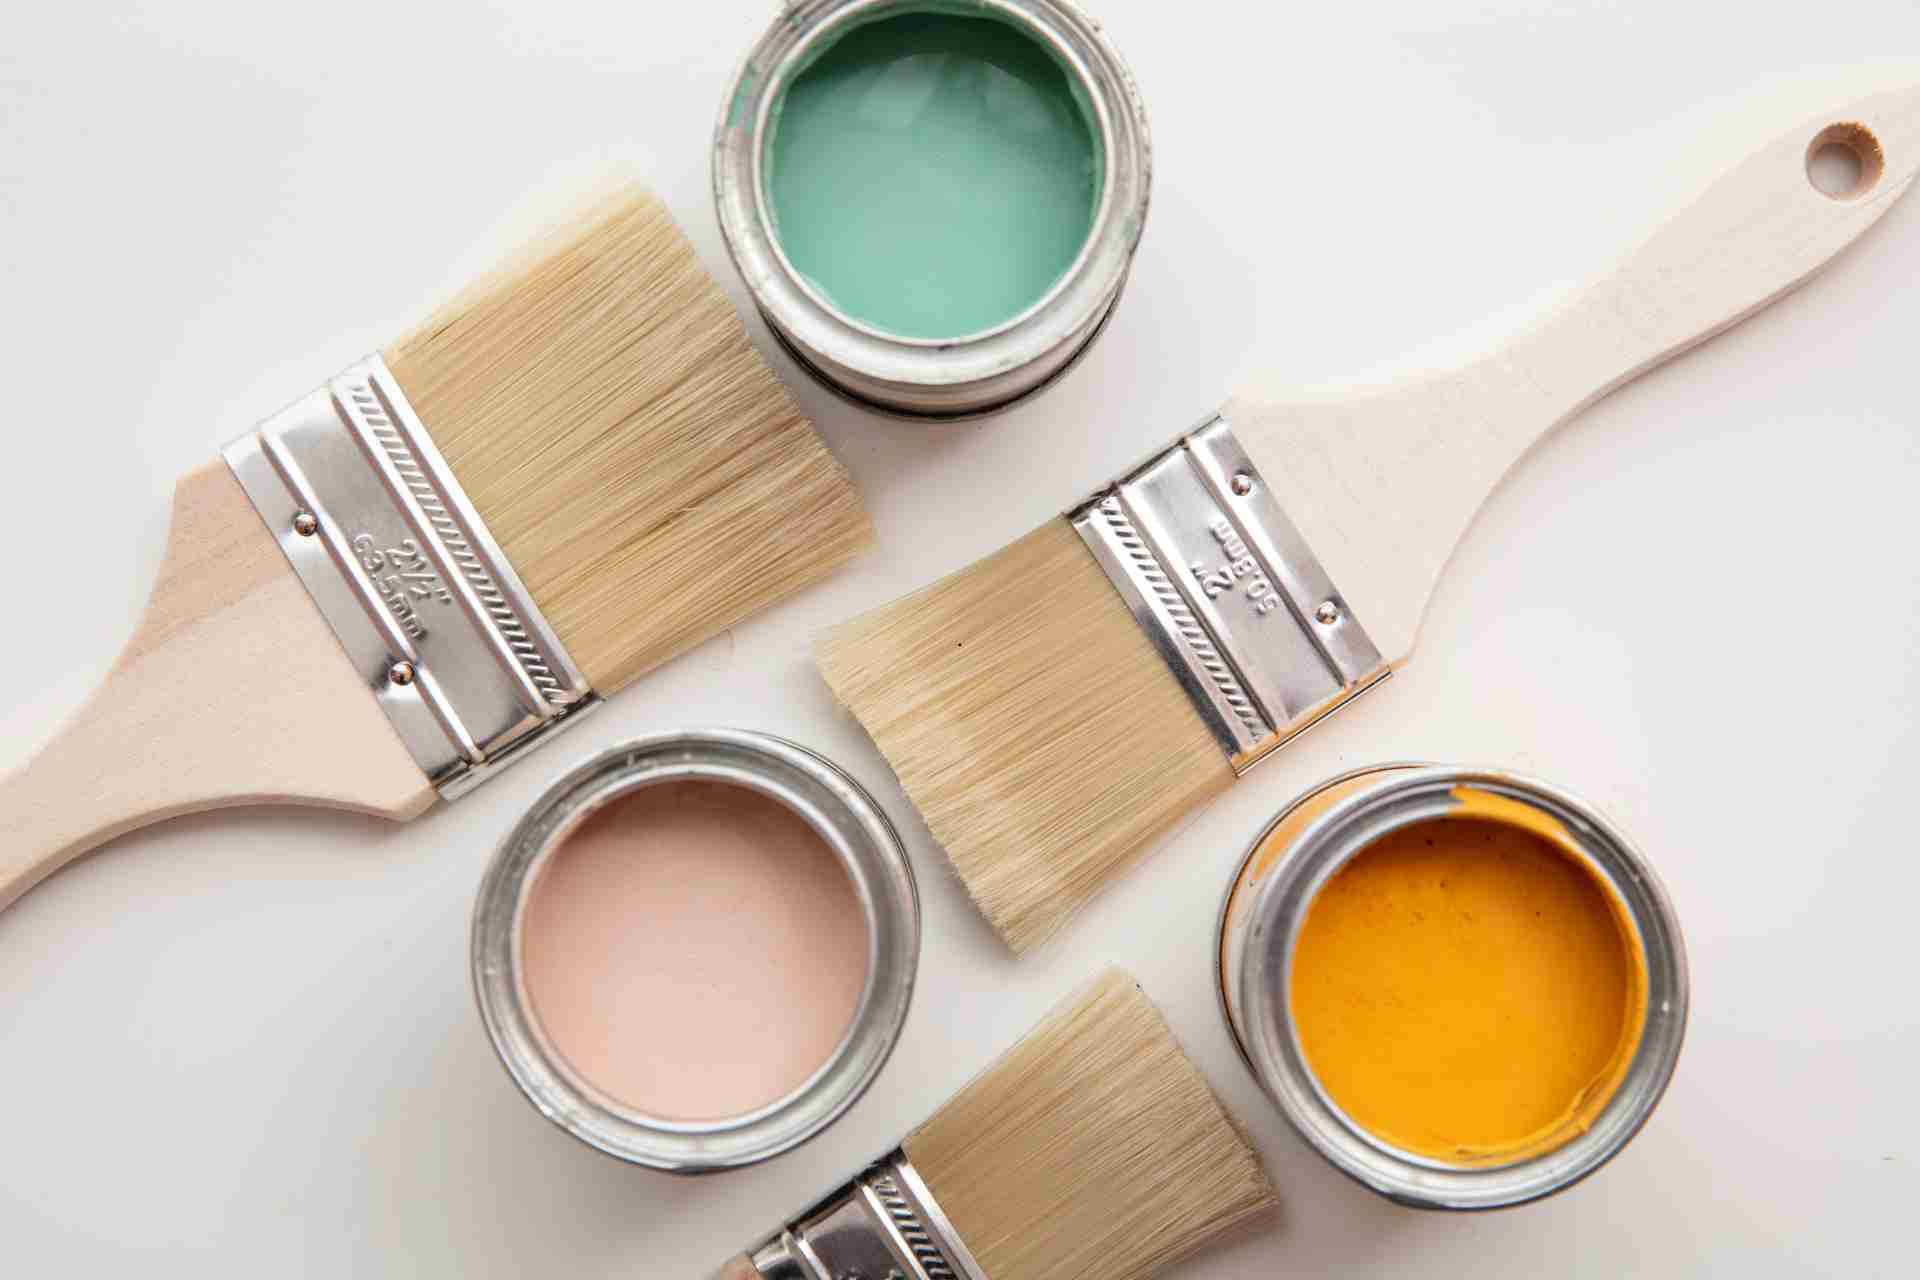
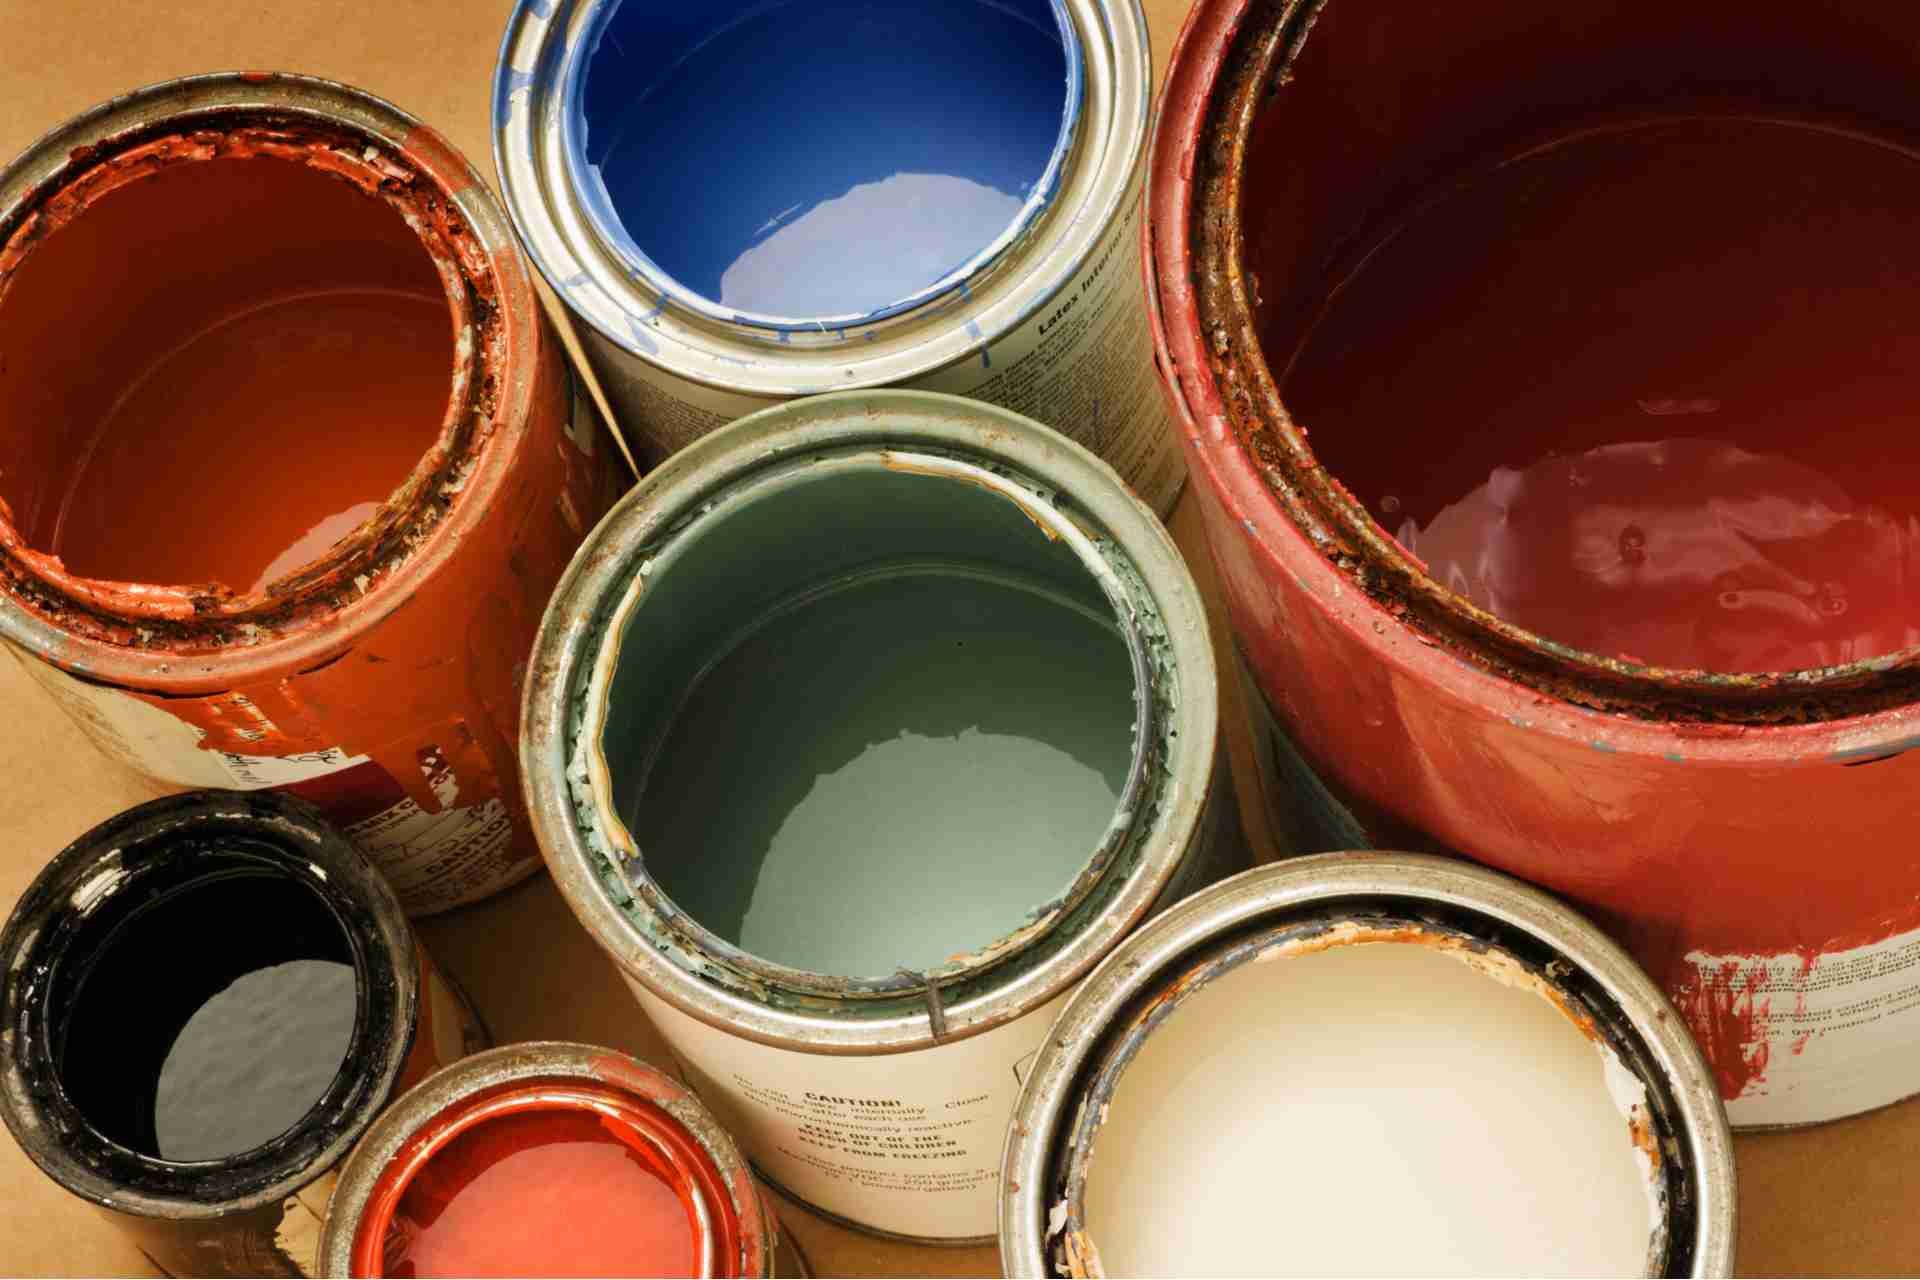
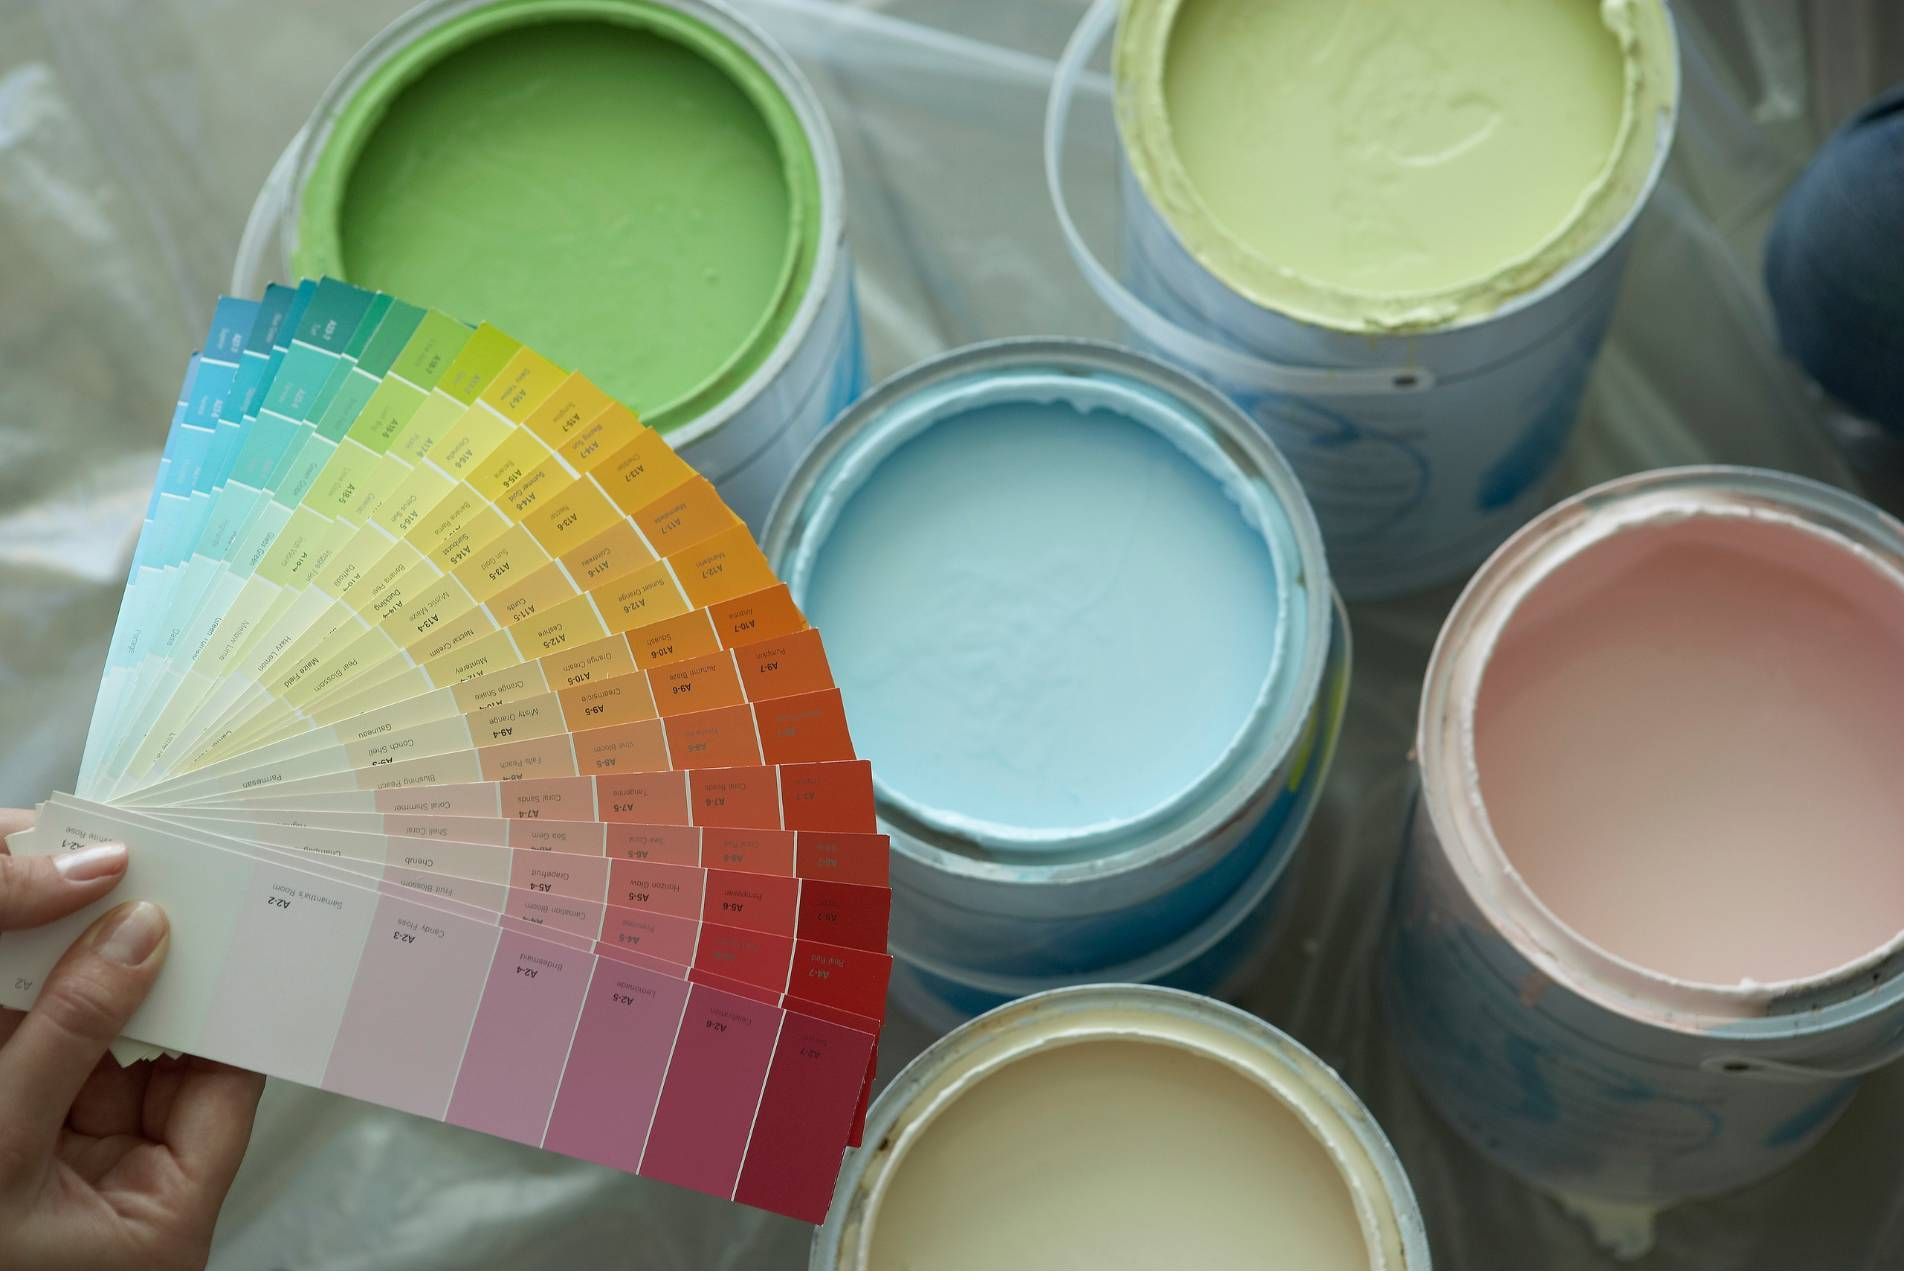
Choose the right paint
There are endless options when it comes to choosing paint colors, finishes, and brands. Consider the mood you want to create in each room and the existing decor when selecting the perfect paint color. Matte finishes are great for hiding imperfections, while semi-gloss or high-gloss finishes are perfect for high traffic areas like kitchens and bathrooms.
Find the Right Painting Contractor
Grega Painting and Decorating is a leading provider of high-quality painting services in the area. With years of experience and a team of skilled professionals, they are well-equipped to handle any painting project, big or small. From residential to commercial properties, they have the expertise to transform any space with a fresh coat of paint.
What sets
Grega Painting and Decorating apart from other painting services is their commitment to customer satisfaction. They understand that painting can be a disruptive process, which is why they strive to make the experience as stress-free as possible for their clients. From start to finish, they work closely with you to ensure that your vision for your space is brought to life.
Contact us at (203) 366-3943 to schedule a consultation and get started on your next painting project.