Painting Residential Gutter
If you're looking to boost your home's curb appeal, painting your gutters can make a significant difference. It not only enhances the overall look but also protects against rust and corrosion. You'll want to choose the right paint and prepare your gutters properly for the best results. Curious about the specific steps to take and the materials you'll need? Let's explore what it takes to achieve a polished finish that stands the test of time.
Benefits of Painting Your Gutters
When you consider the overall appearance and longevity of your home, painting your gutters offers several compelling benefits.
First, a fresh coat of paint can dramatically enhance your home's curb appeal, making it look well-maintained and inviting. It allows you to match or complement your home's exterior color, creating a cohesive aesthetic.
Additionally, painting your gutters helps protect them from rust and corrosion, especially if they’re made of metal. This added layer of protection can significantly extend their lifespan.
Finally, a well-painted gutter system can increase your home’s value, making it more attractive to potential buyers.
Choosing the Right Paint for Your Gutters
Selecting the right paint for your gutters is crucial for achieving a durable and aesthetically pleasing finish. You’ll want to consider various factors to ensure your choice withstands the elements and enhances your home’s curb appeal.
Here are some key points to help you decide:
- Type of Paint: Use acrylic or oil-based paints designed for metal surfaces.
- Color: Choose a color that complements your home’s exterior.
- Finish: Opt for a semi-gloss or gloss finish for better durability and easier cleaning.
- Weather Resistance: Ensure the paint offers UV protection and weather resistance.
- Application Method: Select a paint suitable for spray, brush, or roll-on application, depending on your preference.
Essential Tools and Materials Needed
Before you start painting your residential gutters, gather the essential tools and materials to ensure a smooth process. Here’s a quick list to help you prepare:
Tool/Material Purpose
|-----------------------|------------------------------|
Ladder To reach high gutters
Paintbrush/Roller For applying paint evenly
Painter's Tape To mask edges and prevent drips
Drop Cloth To protect surrounding areas
| Paint (chosen type) | The actual coating for gutters|
Having these items ready will make your project more efficient. You won’t have to pause to hunt for tools or materials, allowing you to focus on achieving a professional finish. Happy painting!
Preparing Your Gutters for Painting
Preparing your gutters for painting is crucial for achieving a lasting finish. Start by ensuring the gutters are clean and free of debris. Here’s how you can prepare effectively:
- Remove any loose dirt: Use a brush or cloth to wipe down the surfaces.
- Clear out leaves and debris: Inspect and remove all materials that might clog the gutters.
- Check for damage: Look for rust or holes that need repair before painting.
- Sand the surface: Lightly sand any rough spots to help the paint adhere better.
- Wash with a mild detergent: A thorough wash will ensure no residues affect the paint's adhesion.
Taking these steps will create an excellent foundation for your painting project, ensuring durability and a professional look.
Step-by-Step Painting Process
The painting process for your residential gutters involves several key steps that ensure a smooth and professional finish.
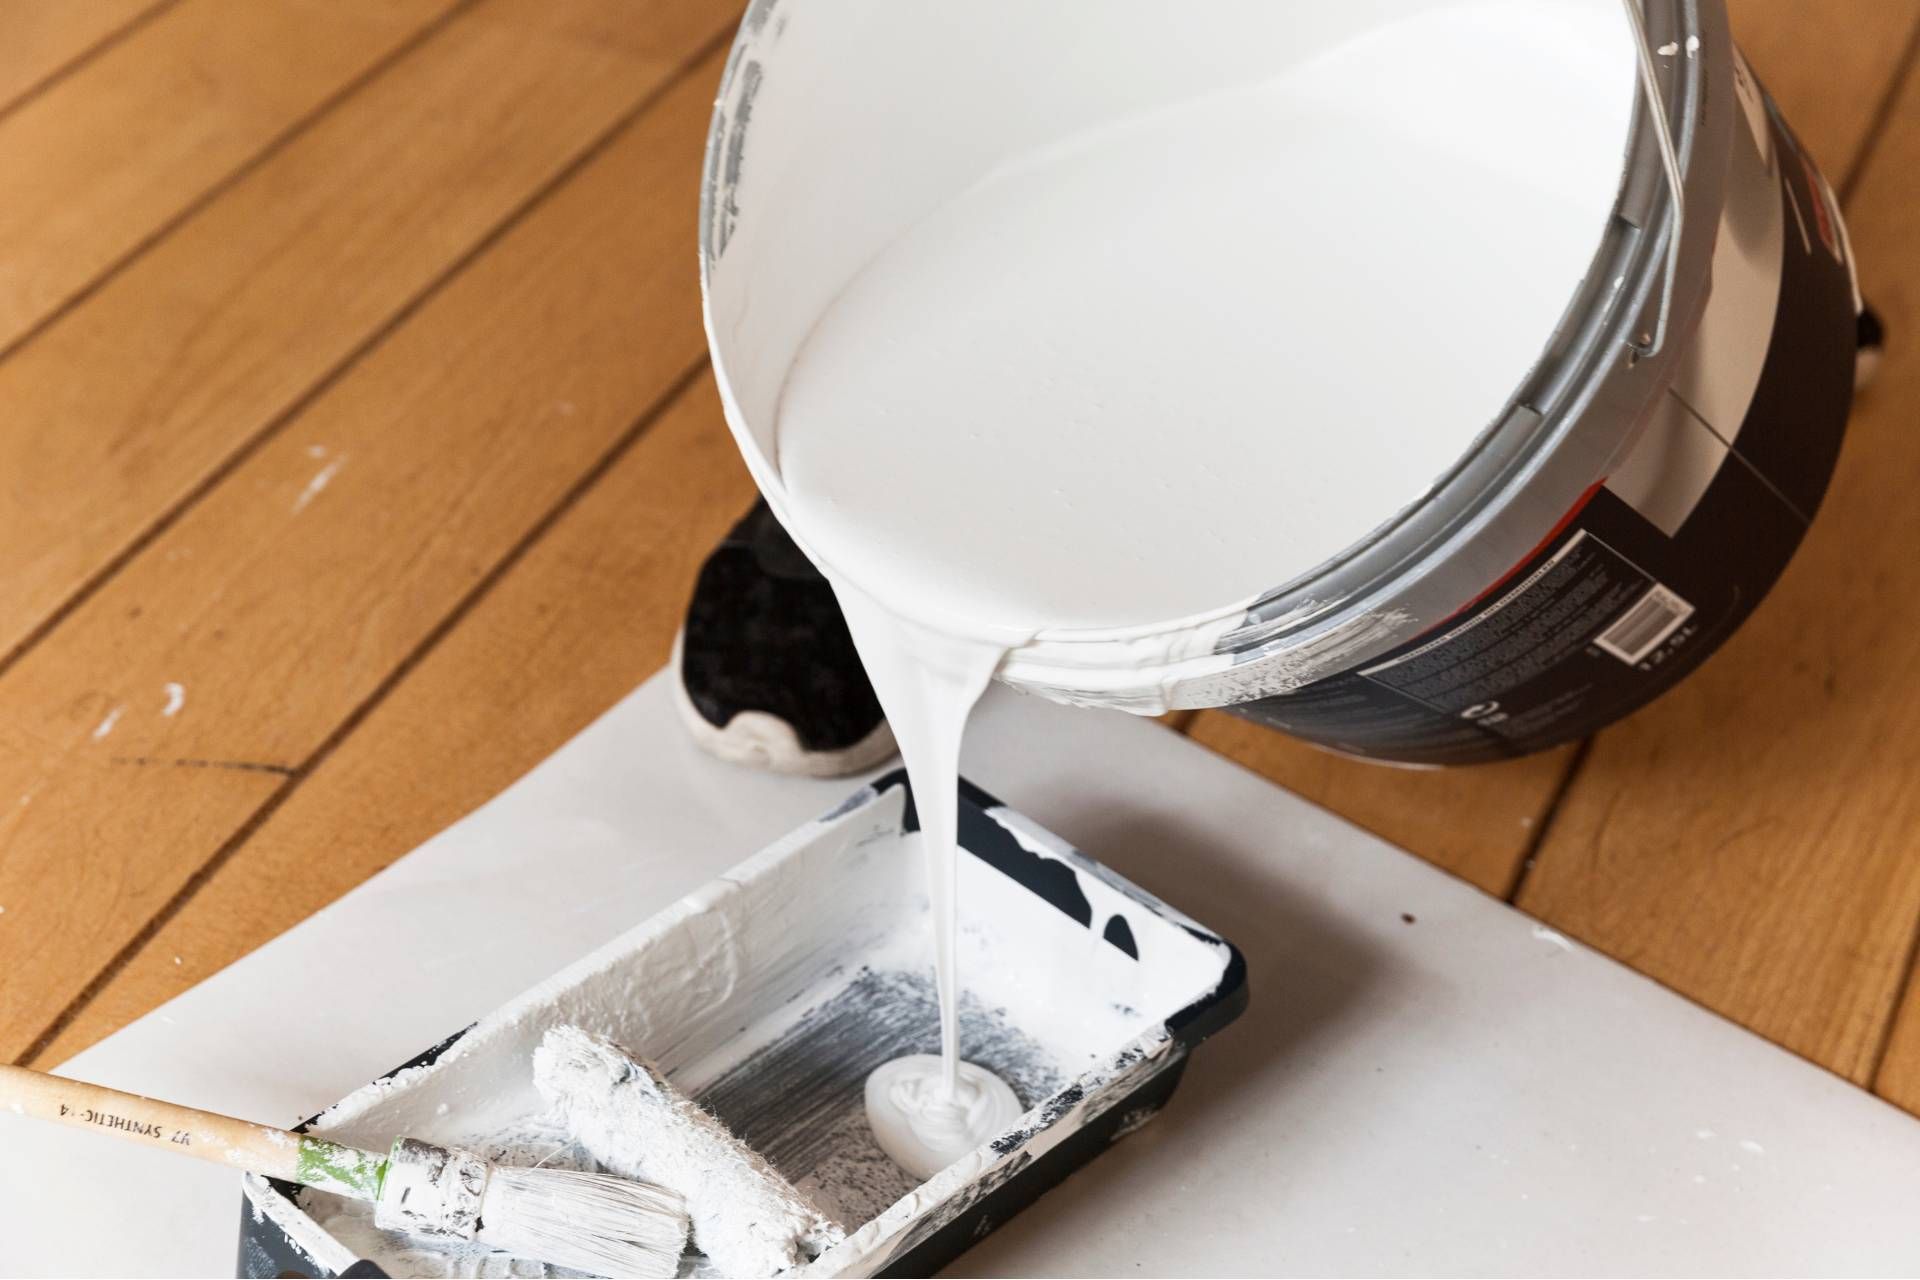
First, gather your materials: high-quality exterior paint, a paintbrush or sprayer, and drop cloths.
Next, ensure your gutters are clean and dry. Apply a primer if needed, especially if your gutters are metal.
Once the primer is dry, stir your paint thoroughly and start with the edges using a brush for precision. Use a sprayer for larger areas to speed up the process.
Apply at least two coats, allowing adequate drying time in between.
Finally, inspect your work, touch up any missed spots, and clean your tools.
With these steps, you’ll achieve a beautifully painted gutter system.
Tips for Achieving a Professional Finish
Achieving a professional finish on your painted gutters requires attention to detail and some practical tips. Follow these guidelines to ensure your project looks top-notch:
- Clean Thoroughly: Remove dirt and debris to promote better paint adhesion.
- Use Quality Paint: Choose a high-quality exterior paint designed for metal surfaces.
- Apply Primer: A suitable primer helps prevent rust and improves paint durability.
- Use a Sprayer or Roller: These tools provide a smooth, even coat compared to brushes.
- Allow Proper Drying Time: Don’t rush the process; ensure each coat dries fully before applying the next.
Maintaining Your Newly Painted Gutters
Once you’ve painted your gutters, maintaining them is crucial to ensuring they stay looking fresh and protect your home effectively.
Start by inspecting your gutters regularly for any signs of peeling or damage. Clean them at least twice a year, removing leaves and debris to prevent blockages.
Use a mild detergent and a soft brush to clean the painted surfaces, avoiding harsh chemicals that could damage the finish. If you notice any scratches or chips, touch them up promptly to prevent rust and deterioration.
Additionally, keep an eye on the caulking; replace it as needed to maintain a watertight seal.
Conclusion
Painting your gutters is a simple yet effective way to boost your home's curb appeal and protect against rust. By choosing the right paint and preparing properly, you can achieve a professional look that lasts. Don’t forget to keep up with maintenance to ensure your newly painted gutters stay in top shape. With a little effort, you’ll not only enhance your home’s beauty but also increase its value for years to come. Happy painting!